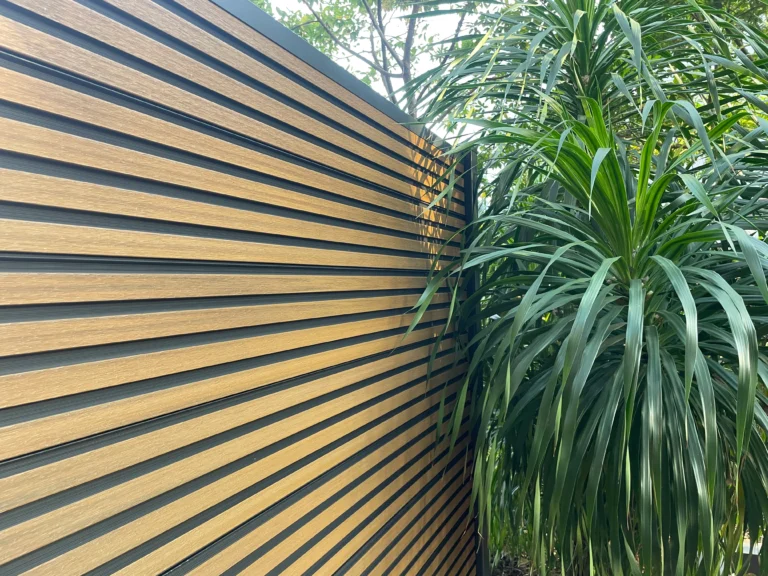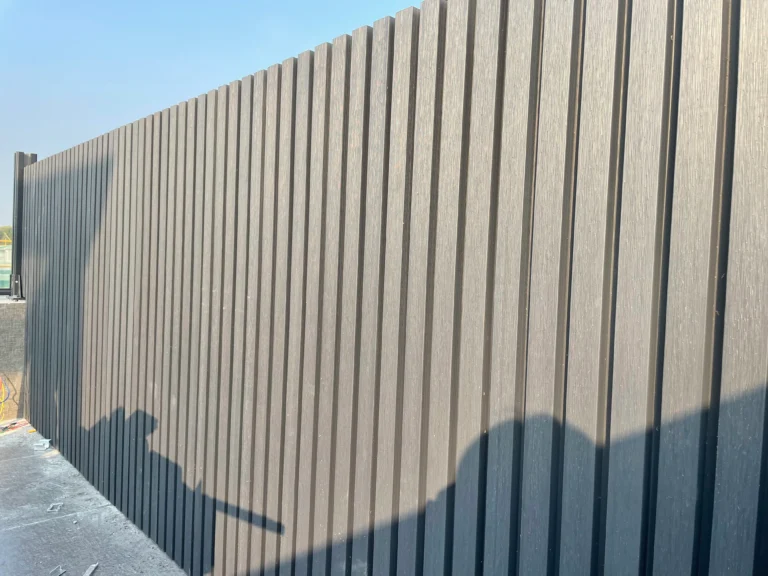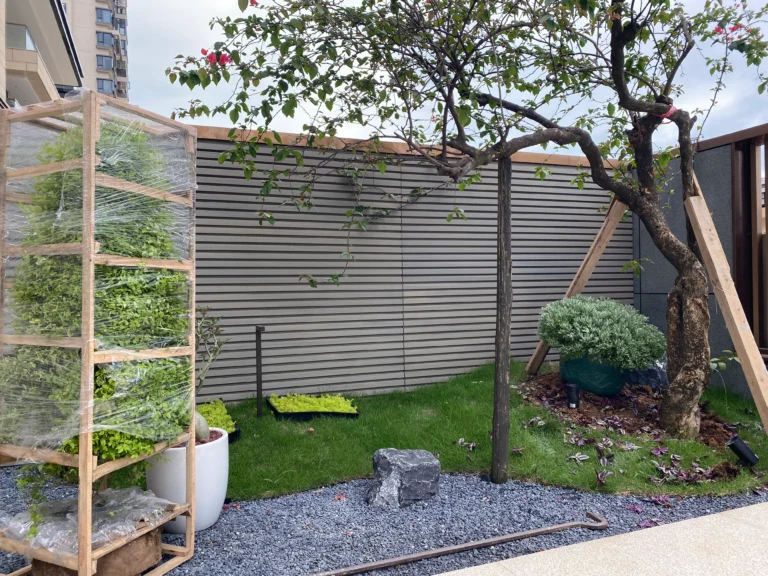
Wood Plastic Composite (WPC) fencing has become a popular choice for homeowners due to its durability, low maintenance, and eco-friendly design. Whether you’re upgrading an existing fence or installing one for the first time, WPC fencing offers a straightforward installation process that can be completed with basic tools.
At MexyTech, a leading manufacturer of WPC materials since 2009, we provide not only high-quality products but also practical support to ensure your installation is a success. In this guide, we’ll walk you through the step-by-step process of installing your WPC fence.

Tools and Materials Needed
Before you begin, gather the following:
-
WPC fence panels (pre-measured and cut as per your requirements)
-
Fence posts
-
Concrete mix or post anchors
-
Measuring tape
-
Spirit level
-
Power drill and screws
-
Rubber mallet
-
String line
-
Shovel or post hole digger
Step 1: Plan and Prepare
-
Measure Your Area: Use a measuring tape to determine the length of the area where you’ll install the fence. Divide this length by the width of each panel to calculate the number of panels needed.
-
Mark Fence Post Locations: Using a string line, mark the location of each fence post. Ensure the spacing matches the width of the fence panels.
-
Check Local Regulations: Before starting, verify any local guidelines or permits required for fencing installations.
Step 2: Set the Fence Posts
-
Dig Post Holes: Use a shovel or post hole digger to create holes approximately 1/3 the height of your fence post deep (e.g., for a 6-foot fence, dig 2 feet deep). Ensure holes are evenly spaced.
-
Secure Posts: Place each post into its hole. Fill the hole with concrete mix, ensuring the post remains level using a spirit level. Alternatively, you can use post anchors for less permanent installations.
-
Allow Concrete to Set: Let the concrete cure for 24-48 hours to ensure the posts are stable before attaching panels.
Step 3: Attach WPC Fence Panels
-
Install Bottom Rail: Start by attaching the bottom rail of the fence to the posts. This serves as the base for your panels.
-
Slide in Fence Panels: Insert the WPC panels one by one into the grooves of the fence posts. Use a rubber mallet to gently tap the panels into place if needed.
-
Secure with Screws: Fix the panels using screws at designated points to keep them secure.
-
Install Top Rail: Once all panels are in place, attach the top rail to complete the structure.
Step 4: Finishing Touches
-
Check Alignment: Walk along the fence line and use a spirit level to ensure all panels and posts are aligned. Adjust if necessary.
-
Clean Up: Remove any debris or excess materials from the site.
-
Apply Additional Features: If desired, add post caps or decorative features to enhance the aesthetic appeal of your WPC fence.
Why Choose MexyTech WPC Fencing?
At MexyTech, we don’t just provide top-tier WPC fencing—we make your installation experience as seamless as possible. With our durable, customizable fence designs and detailed installation guides, you can achieve professional results even as a DIY enthusiast.
Our fences are engineered for:
-
Easy installation with pre-measured components
-
Weather resistance and long-lasting performance
-
Eco-friendly solutions using recycled materials
For inquiries or support, contact us at info@mexytech.com.